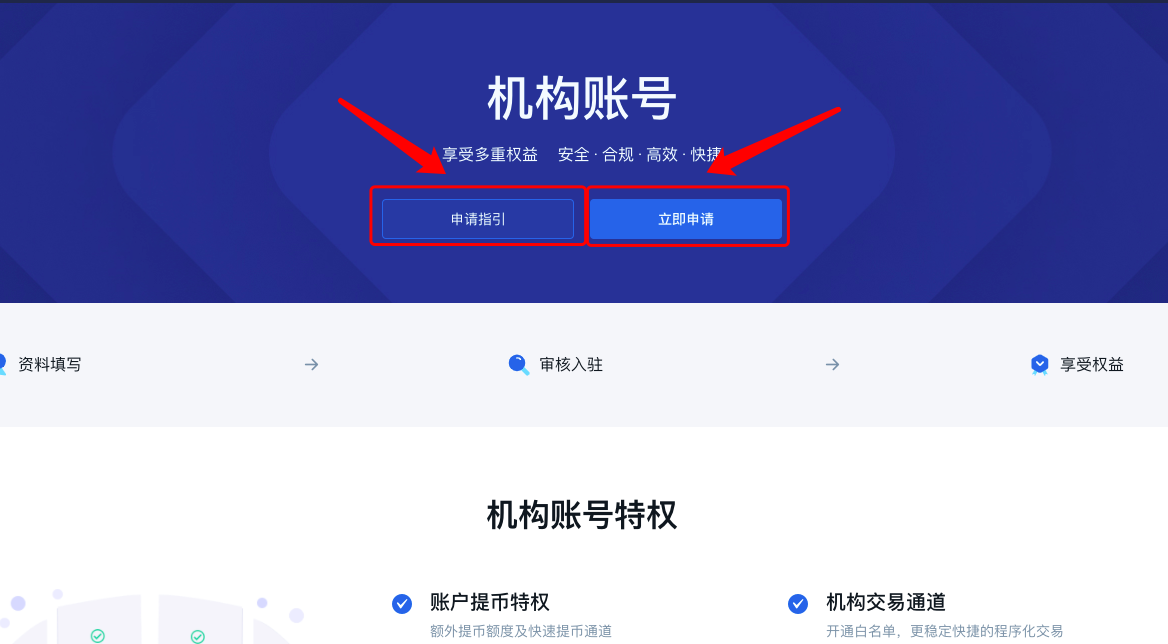
1. 打开机构账户申请地址,或直接通过网站底部导航中的“机构账户”进入申请页面。

2. 确认登录账户后,点击“立即申请”按钮进入申请流程,如申请遇到问题可以点击左侧“申请指引”查看帮助信息。如果您有任何建议或疑问,请发送邮件至 VIP@bibox.email。
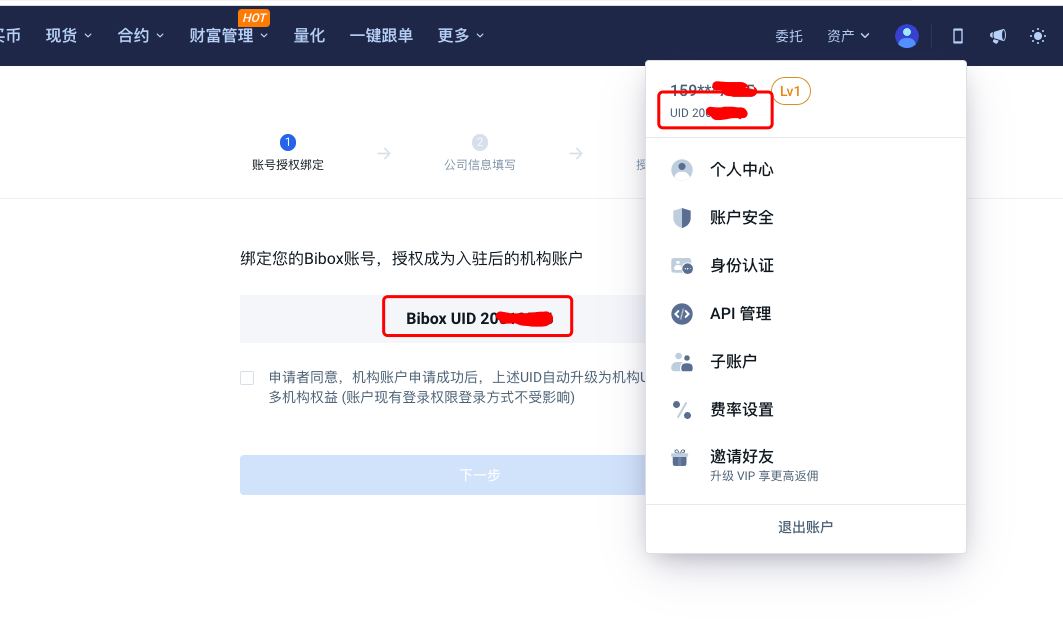
3. 申请机构账户,需要当前账户完成KYC认证,如未完成,系统会引导您进行KYC认证。完成KYC认证后,核对用户UID是否一致,确认无误后,进行下一步审核。审核通过后,上述UID自动升级为机构UID。
如未完成KYC认证,请点击“立即认证”按钮,跟随流程完成认证后,返回申请机构账户。
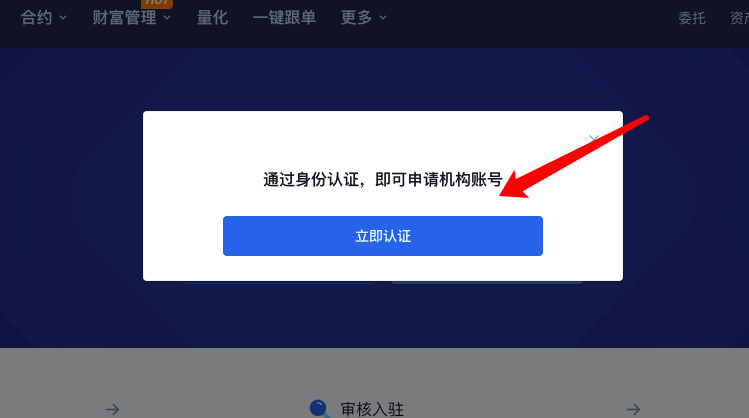
如已完成KYC认证,则系统自动读取UID信息,核对用户UID是否一致,确认无误后,进行下一步审核。
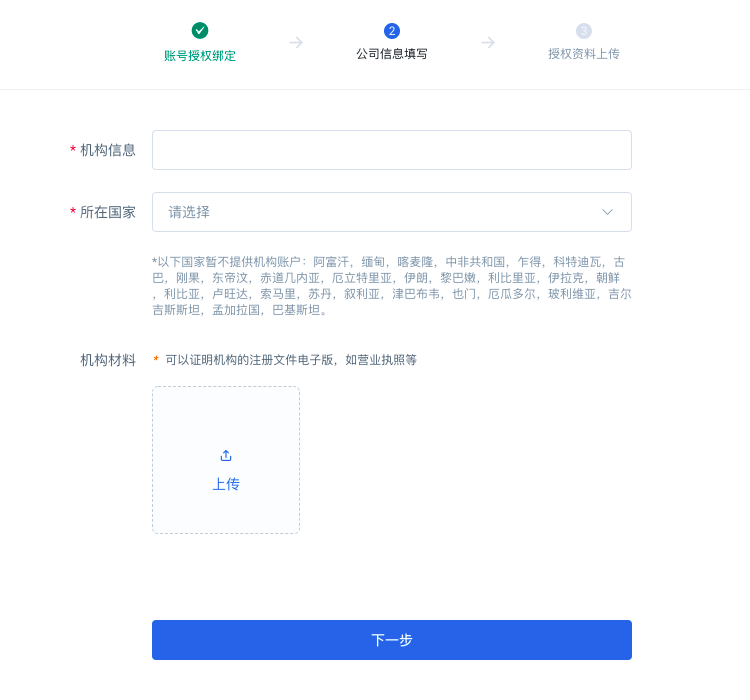
4. 账户UID设置成功后,进入填写公司信息步骤。仔细核对并填写机构信息、选择所在国家与可以证明机构的注册文件电子版材料,如营业执照等。尽量提供高清扫描版,避免因图片像素质量不高导致申请不通过。
请注意以下国家暂不提供机构账户:阿富汗、缅甸、喀麦隆、中非共和国、乍得、科特迪瓦、古巴、刚果、东帝汶、赤道几内亚、厄立特里亚、伊朗、黎巴嫩、利比里亚、伊拉克、朝鲜、利比亚、卢旺达、索马里、苏丹、叙利亚、津巴布韦、也门、厄瓜多尔、玻利维亚、吉尔吉斯斯坦、孟加拉国、巴基斯坦。
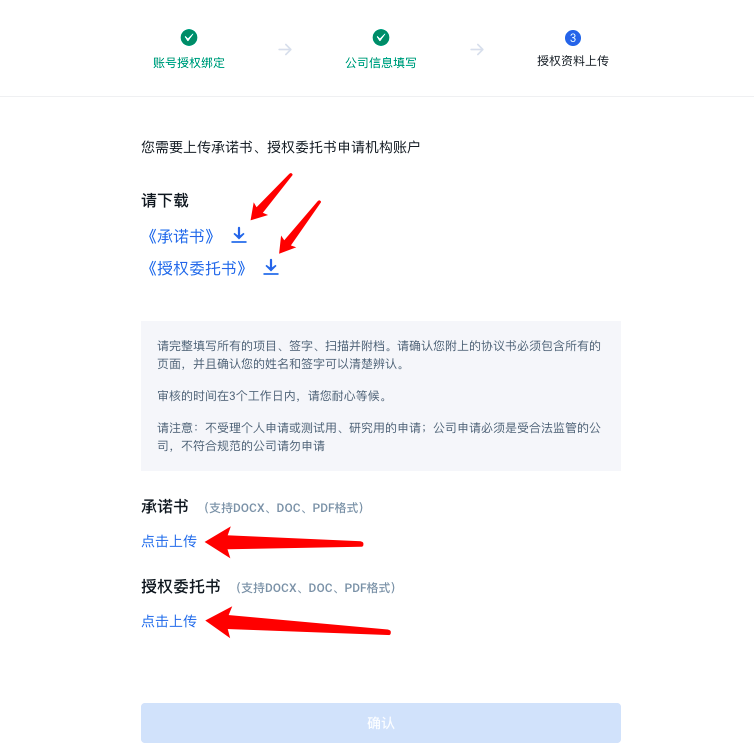
5. 核对申请材料无误后,点击下一步进入授权资料上传步骤。点击下载对应《授权书》与《授权委托书》,按照要求进行打印签字盖章后,上传到对应位置。确认信息无误后即可点击“确认”提交审核资料。
6. 所有材料审核自确认提交后会在3个工作日内进行审核,审核结果将以短信或邮件的形式下发通知,请您留意查看。
7. 审核不通过常见问题
7.1 上传资料不清晰,无法辨认机构信息或申请信息。
解决方案:重新拍照或扫描信息,保证上传信息内容清晰可见。
7.2 申请机构不存在或存在异常。
解决方案:更换机构信息后重新提交。
7.3 如果您有任何建议或疑问,请发送邮件至 VIP@bibox.email,负责专员将为您及时解答。
评论
0 条评论
文章评论已关闭。